Air Quality Sensor - User Guide

Quick Start
Follow these steps to get started with your air quality sensor:
Physical Mount on the Wall
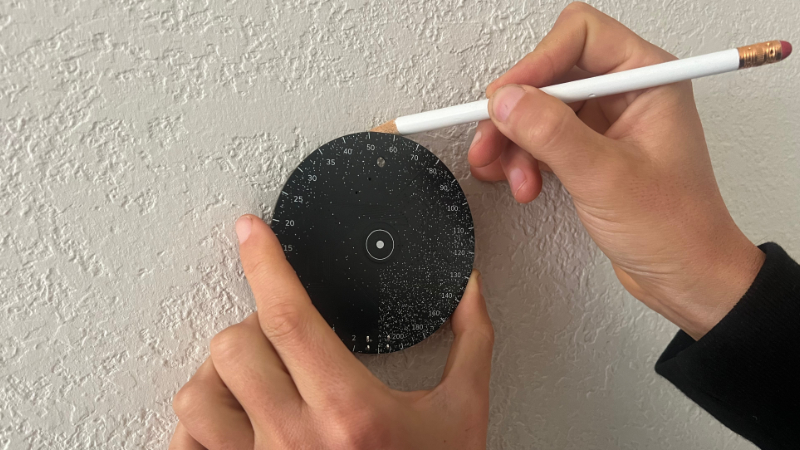
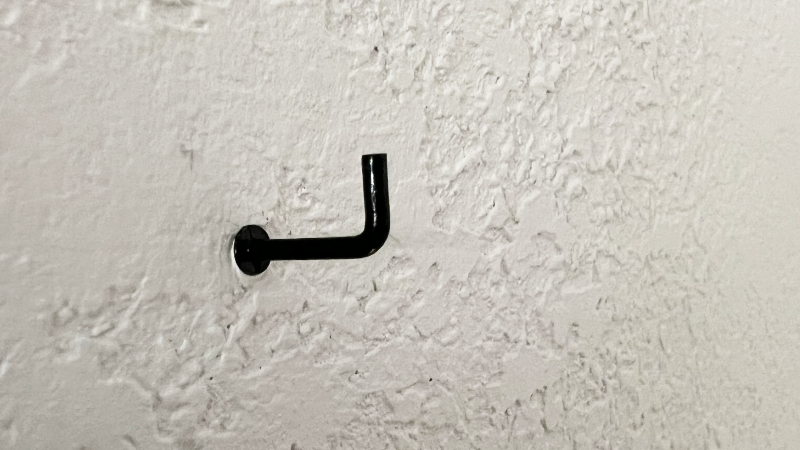
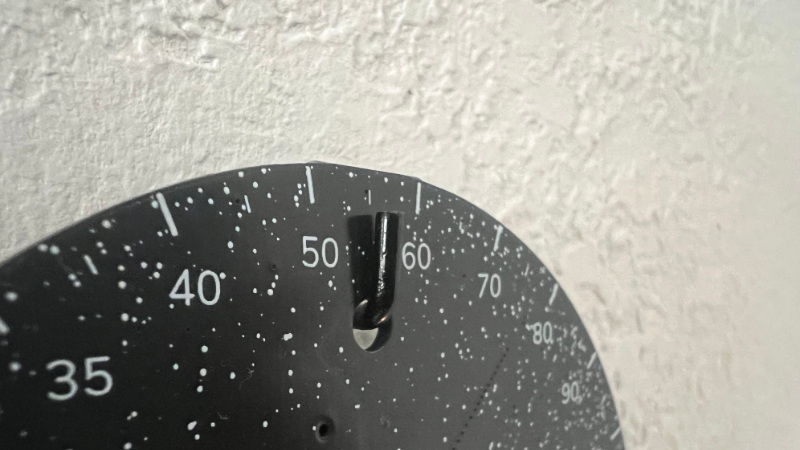
A lanyard can also be used as an alternative mounting method.
The connector between the board and the sensor module is delicate. Handle with care during mounting and prevent accidental falls. A fall could damage the connector and compromise the device's functionality.
While the T-screw (or nail/lanyard) serves as the primary mounting method, the double-sided adhesive patch provided in the accessory bag is offered only to prevent wobbling - it should not be used as the primary mounting solution.
Understanding Your Air Quality Sensor
Behavior
Learning from Your Sensor
You can use the sensor to understand how your actions affect the health of your local environment:
- Observe how activities like cooking, burning wood, or lighting candles affect air quality.
- Monitor external factors such as lack of wind, traffic, or wildfires that may degrade air quality.
- Use this information to decide when to close windows or turn on an air purifier.
Saving Data on an SD Card
To collect data over time using an SD card, you need to set up the SD card with two key elements: the WiFi configuration file and the web interface.
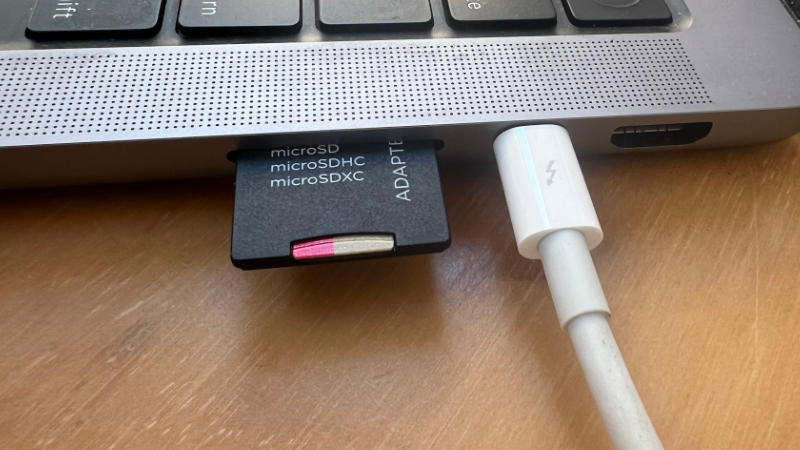
To get started insert the SD Card into your computer using the provided adapter if needed.
Web Interface download
- Download the default template for the web interface here.
- Add the folder 'webinterface' to you SD card. Make sure it's on the top level, not inside another folder.
Once you've completed these steps,The SD Card should have the following structure and files:
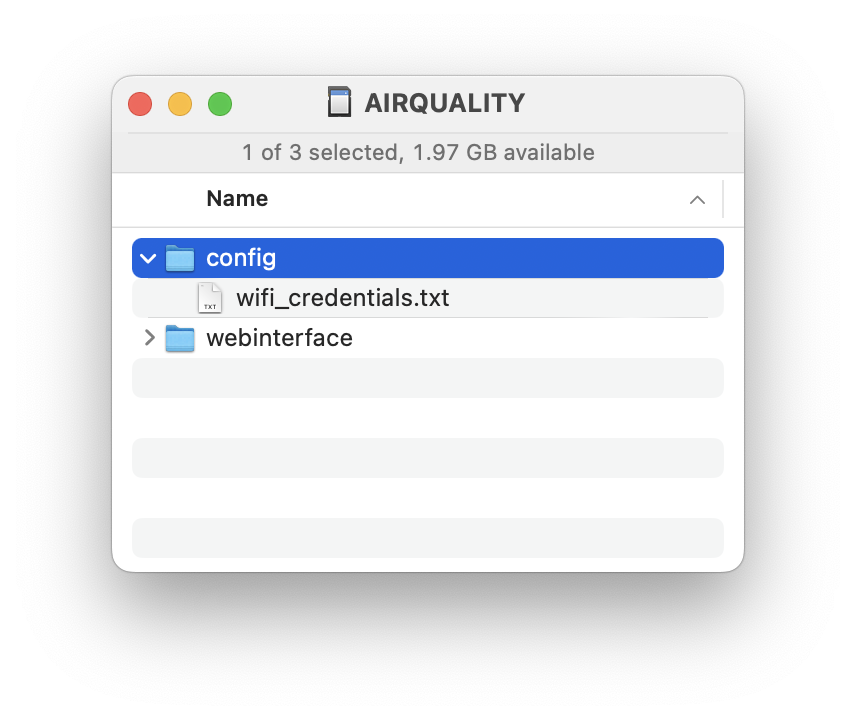
Config File Generation
- Use the form below to generate a WiFi configuration file named "wifi_credentials.txt".
- Create a folder named "config" in the root directory of the SD card.
- Place the "wifi_credentials.txt" file in the "config" folder.
Note: This data is kept local and is never transmitted to the internet.
No special characters allowed
To access the web interface, go to: airqualitysensor.local
Here is a screencapture of the process to prepare the SD card:
Frequently Asked Questions
Can I change the frequency at which the sensor is reading?
Yes, you can. Go into the web interface, click on the info button in the top right, and reveal the settings to adjust the frequency.
Which SD cards are compatible with the Air Quality Sensor?
SDSC and SDHC cards are compatible, but SDXC cards are not. We recommend using SanDisk or Transcend SD cards for best performance.
What is the coin cell battery bay on the board for?
The coin cell battery bay is for cases where the sensor can't access the internet to get the time. In such cases, the time must be set manually. When generating the WiFi configuration file, a timestamp is added, at startup, if no internet is detected, the sensor sets its internal time based on this timestamp. The coin cell battery (CR1220) keeps the sensor's clock running during power shutdowns so it doesn't need to be set manually again.
Where can I find the open-source code for the sensor?
You can find the code here:
https://github.com/studioluff/airqualitysensor/
Which power adapter should I use?
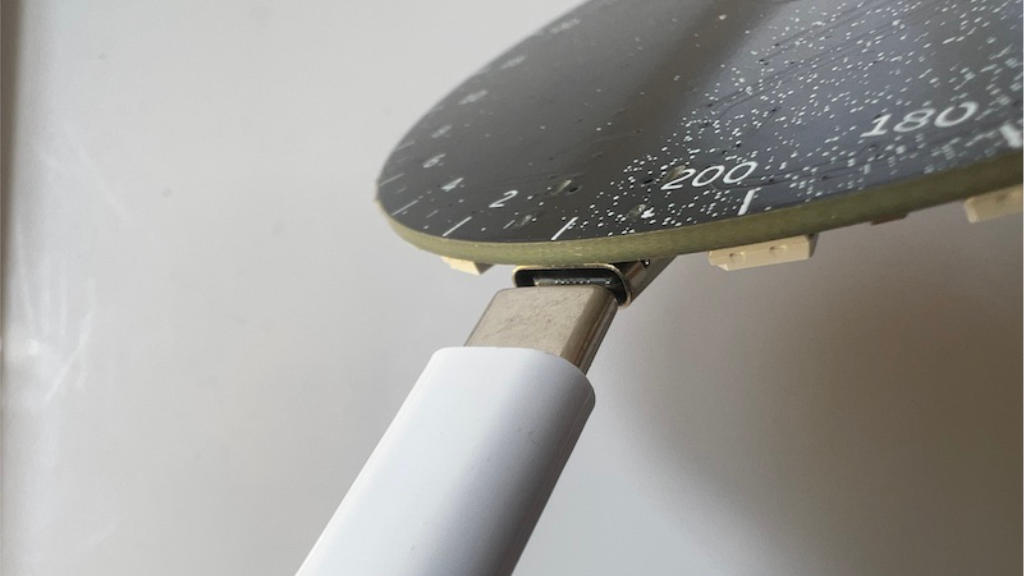
The Air Quality Sensor is designed to be versatile in terms of power supply. Virtually any standard power adapter should work effectively. During testing, the sensor has been successfully operated when connected directly to a computer's USB port, as well as when plugged into standard wall outlets using a USB-C connection.
I cannot access the web interface. What should I do?
There are multiple reasons why you might not be able to access the web interface. You can run a diagnostic on your Air Quality Sensor by long-pressing for up to 10 seconds; three LEDs will light up. Here’s what they indicate:
Can I remove the blue wrapping from the sensor module?
Yes, you can.
The connector between the Air Quality board and the sensor module broke, what should I do?
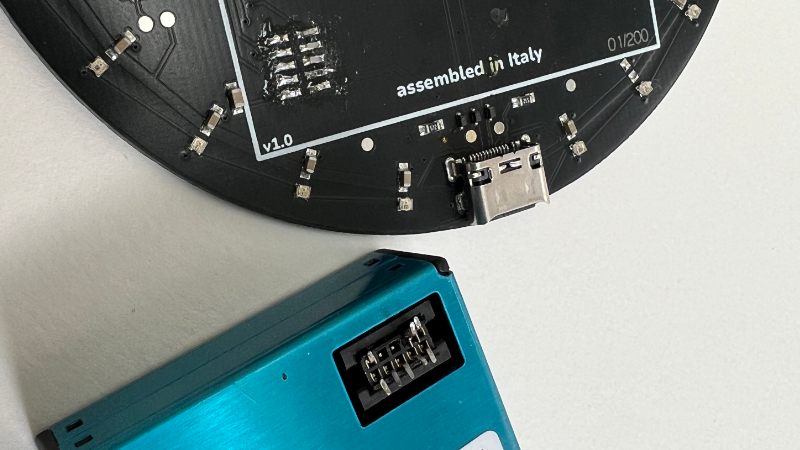 This is unfortunate, but you should be able to fix your Air Quality Sensor easily. You should find a spare connector to solder on the board in the accessory pouch.
If you don't have a soldering iron, drop us an email.